Cassette vs Freecoaster BMX Hubs: Engagement, Fakies, and Fit
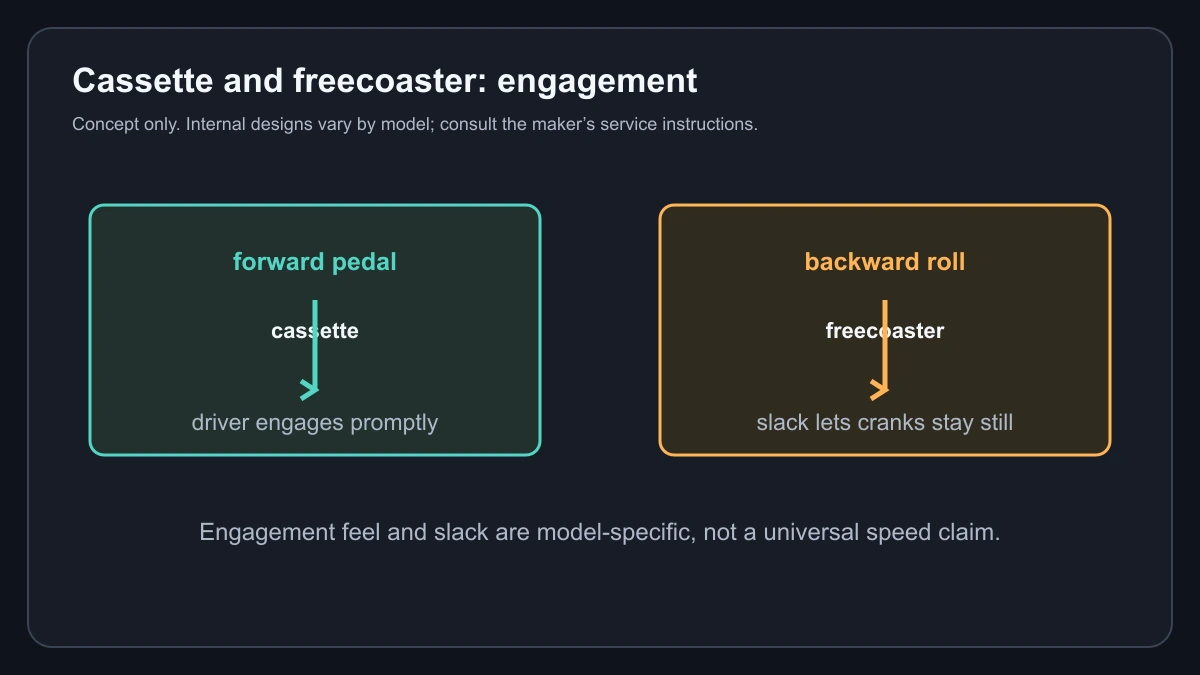
Cassette and freecoaster hubs solve different riding problems. A cassette gives a familiar forward pedal response and a direct connection between the driver and hub shell once its engagement system catches. A freecoaster allows the bike to roll backward or forward in a fakie while the cranks stay relatively still, subject to that model’s slack adjustment and internal design. The choice is about how you want the bike to behave, not a universal ranking of which hub is fastest.
What engagement changes
On a cassette, forward pressure at the pedals engages the driver and transmits torque to the hub shell. The amount of rotational movement before engagement varies by model. That response can feel predictable for sprinting, manuals, pumps and lines where you want to reapply power immediately.
A freecoaster separates the crank and wheel behavior during the backward part of a fakie. Slack is the amount of pedal movement before the internal mechanism engages in the relevant direction. Less slack can feel more connected. More slack can make a fakie easier to hold, but it can also feel less immediate when you want to pedal out. Internal mechanisms and adjustment ranges differ, so do not transfer a favorite setting from one hub to another without reading its service instructions.
Neither label removes the need for technique. A cassette rider can learn fakies, and a freecoaster does not automatically make a landing stable. A freecoaster can also require more attention to adjustment, bearings or internal service depending on the model and conditions.
Match the hub to your riding
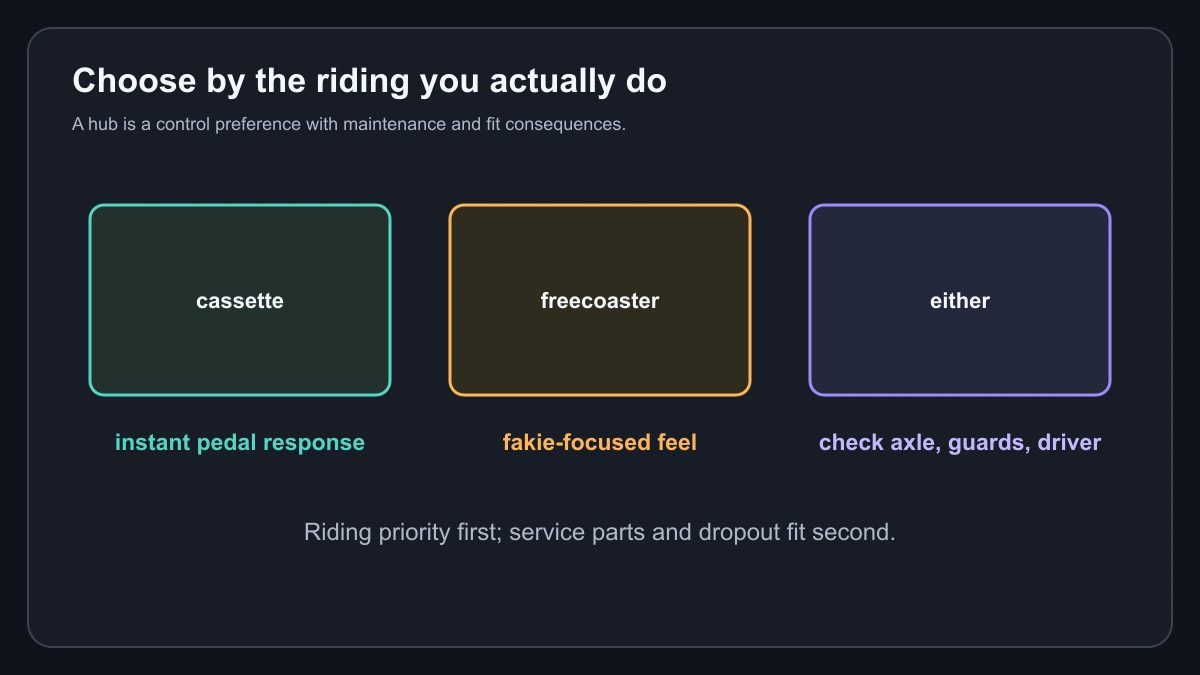
Choose a cassette when you value a consistent pedal response, do sprint starts, ride lines with frequent acceleration, or want a simpler decision while learning. It is also the safe default when you are replacing a wheel and have not yet identified a strong fakie preference. This is a riding-fit recommendation, not a claim that every cassette uses the same internals.
Choose a freecoaster when backward-rolling tricks are a central part of your riding and you want the cranks to stay still during the fakie phase. Expect a short setup period. Mark the original adjustment position, make one change at a time and test in a controlled area. If the hub develops play, roughness or inconsistent engagement, stop riding it until you identify the service requirement.
If you ride both race-style acceleration and technical fakies, keep the tradeoff visible. A cassette may feel better for repeated power changes. A freecoaster may reduce the crank management you do in a fakie. Your line choice, cadence and practice time matter more than a product label.
Product and wheel examples
The Profile Elite Cassette Hub is a useful example of why fitment must be read as a set of options. Profile publishes choices for 28- or 36-hole drilling, right-hand-drive or left-hand-drive on the 36-hole option, several axle configurations and different driver or cog choices. The page also lists 3/8-inch and 14 mm axle options. Those details affect frame fit, spoke build, peg hardware and chainline. They are not interchangeable features.
Existing wheel families such as the Odyssey Clutch Pro and Cinema FX2 are useful names to investigate when comparing freecoasters, but the exact version, axle, drive side, hub guard and service procedure must come from the current manufacturer page. Do not buy a used hub from a photo alone. Ask for the model generation and verify that replacement bearings, guards and adjustment parts are available.
Wheel fitment checklist
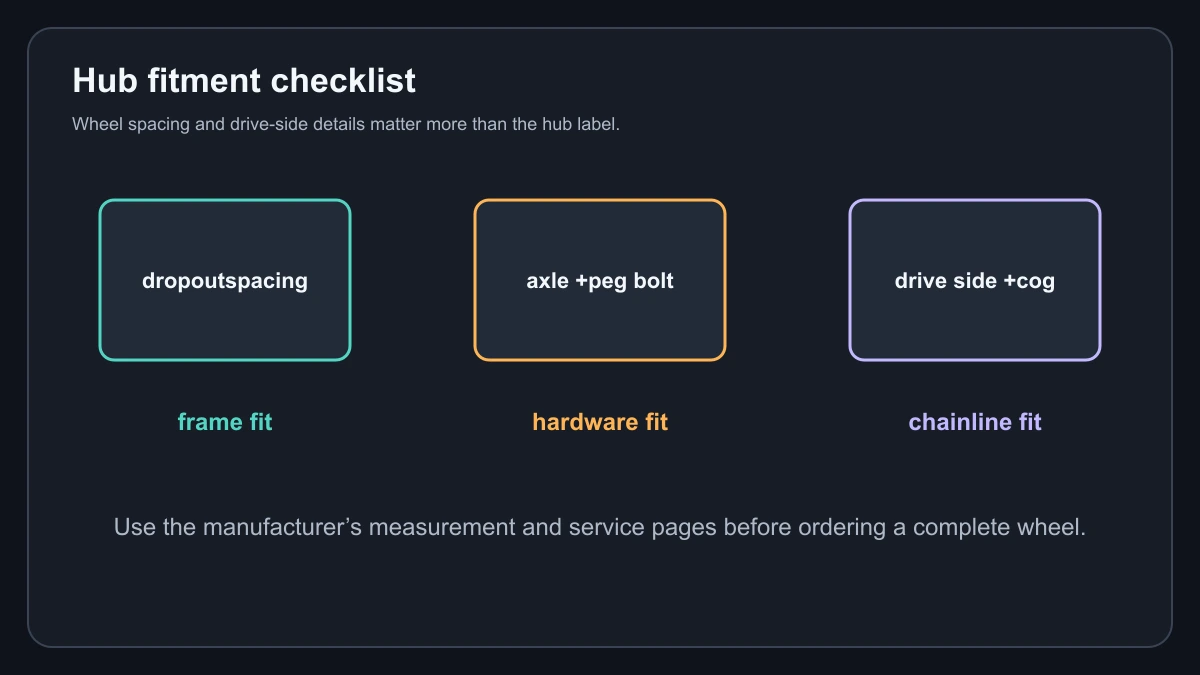
- Measure dropout spacing. The wheel must match the frame. A 14 mm axle option does not tell you the dropout width.
- Confirm drive side. Right-hand-drive and left-hand-drive parts change cog position and chainline.
- Check the cog or driver. Count the teeth, verify the mounting style and keep the chain width compatible with the sprocket.
- Check peg and guard clearance. The axle, washer, peg bolt and hub guard must stack as the maker specifies.
- Confirm wheel drilling. A 28-hole hub cannot be built into a 36-hole rim without a different spoke plan.
- Read service instructions. Freecoaster slack, cassette driver service and bearing preload are model-specific.
A replacement wheel also changes tire clearance, rim width and possibly spoke tension. Ask a builder or mechanic to confirm those details if you are not comfortable measuring them. Do not tighten a hub adjustment by feel and call it finished.
Practical decision
Start with the behavior you need. If you want direct, familiar acceleration, select a cassette that fits your frame and axle hardware. If fakies dominate your riding and you accept adjustment work, select a freecoaster with documented parts support. Keep the original hub instructions, record the setting you started with and inspect the wheel after the first few sessions.
This guide makes no hands-on durability claim and does not say that either design prevents crashes. Use controlled practice space and maintain the wheel before riding.
Test the behavior, then maintain it
If you can try both hub types, use the same tires, pressure, crank length and route for the comparison. Pay attention to the first pedal stroke after a fakie, the amount of crank movement before engagement and whether the hub makes noise or feels rough. These observations are setup notes, not a lab ranking. A used wheel may have a different adjustment or worn bearings, so do not generalize its feel to every hub in that family.
A cassette purchase has its own questions. Ask which driver or cog standard the hub uses, whether a hub guard is included, and whether replacement pawls, springs and bearings are available. For a freecoaster, ask how slack is adjusted, what lubricant or service interval the maker specifies and whether the required cone or internal parts are model-specific. Keep the service document with the wheel. If engagement becomes inconsistent, if the axle shifts in the dropout or if the rim develops play, take the wheel out of service until it is inspected.
Remember that the driver tooth count changes your gearing even when the hub shell feels the same. Count the front chainring and rear cog together, then check the chainline after the wheel is installed. A hub choice should leave you with a wheel that fits, a drivetrain that runs straight and a maintenance plan you can actually follow.
Sources and scope
Mechanical descriptions and current fit examples use the Profile Racing Elite Cassette Hub documentation and the official Odyssey BMX site as manufacturer entry points. The official freecoaster product pages were not treated as verified when access was blocked, so no model-specific freecoaster dimensions or prices are stated.