48×15 vs 48×16 Fixed-Gear Ratios: Math, Cadence, and Fit
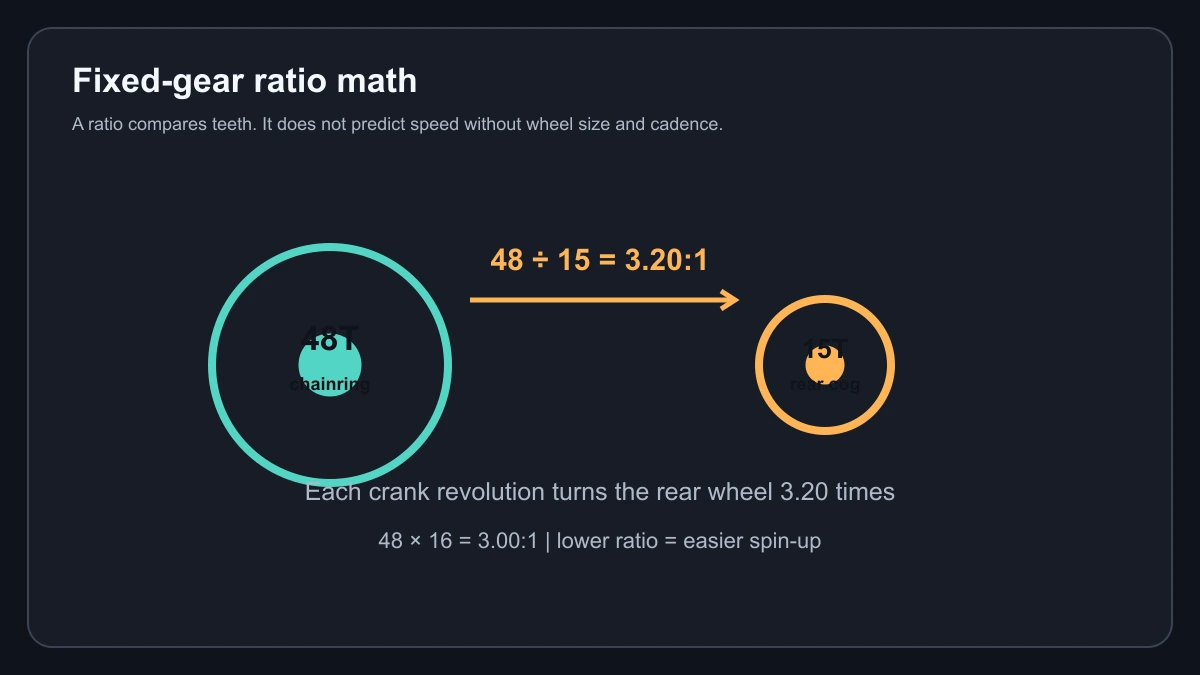
The difference between 48×15 and 48×16 is easy to state and easy to misunderstand. The first number is the chainring tooth count. The second is the rear cog tooth count. Divide the chainring by the cog to get the mechanical ratio, then combine that ratio with the actual wheel circumference and your cadence. A ratio by itself is not a speed claim.
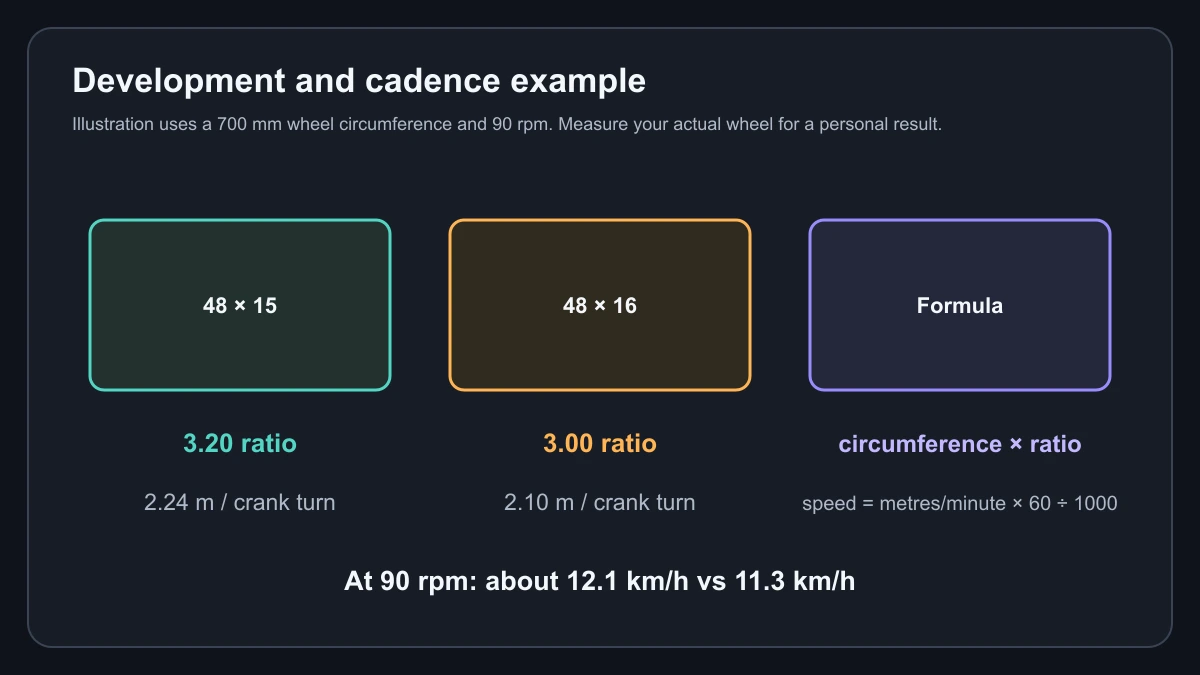
This guide uses 48×15 and 48×16 because they are common comparison points, not because either is right for every rider. The examples assume a fixed gear with a 700 mm wheel circumference. That is a deliberately simple assumption for math. A 700c tire’s real rolling circumference changes with rim, tire, pressure, load and wear, so measure your wheel if you need a setup-specific answer.
The basic calculation
For 48×15:
- Ratio = 48 ÷ 15 = 3.20:1.
- Development = 0.700 m wheel circumference × 3.20 = 2.24 m per crank revolution.
For 48×16:
- Ratio = 48 ÷ 16 = 3.00:1.
- Development = 0.700 m × 3.00 = 2.10 m per crank revolution.
At 90 rpm, 48×15 travels about 2.24 × 90 × 60 ÷ 1,000 = 12.1 km/h under that example’s deliberately small 700 mm circumference. The same cadence on 48×16 is about 11.3 km/h. The exact numbers are less important than the relationship: 48×15 moves 6.7% farther per crank turn than 48×16. At the same road speed, the 48×16 setup needs about 6.7% more cadence.
A real 700c road or commuter tire may measure closer to 2.1 m around. If your measured circumference is 2.10 m, the same calculation gives 6.72 m per turn for 48×15 and 6.30 m for 48×16. At 90 rpm those are about 36.3 km/h and 34.0 km/h. Write down the circumference you used so you do not mistake an example for a measurement.
What the difference feels like
A 48×15 ratio is taller. At the same speed, the cranks turn more slowly, and the bike travels farther for each revolution. That can suit a rider who spends time at higher cruising speeds and has the leg strength and control for a larger gear. It also raises the force needed to start, climb or recover from a low-speed section.
A 48×16 ratio is lower. It turns the rear wheel less per crank revolution, so it is generally easier to start and easier to keep spinning at lower speeds. The tradeoff is a higher cadence at the same road speed. Some riders prefer that feeling for stop-start streets, hills or technical control. Others find the extra spin uncomfortable at faster speeds.
These are mechanical tradeoffs, not guarantees about comfort or performance. Cadence preference, gradient, tire pressure, crank length, fitness and traffic all change the practical result. A gear that is manageable on a flat commute can feel very different on a long climb or wet descent.
Check the component fit
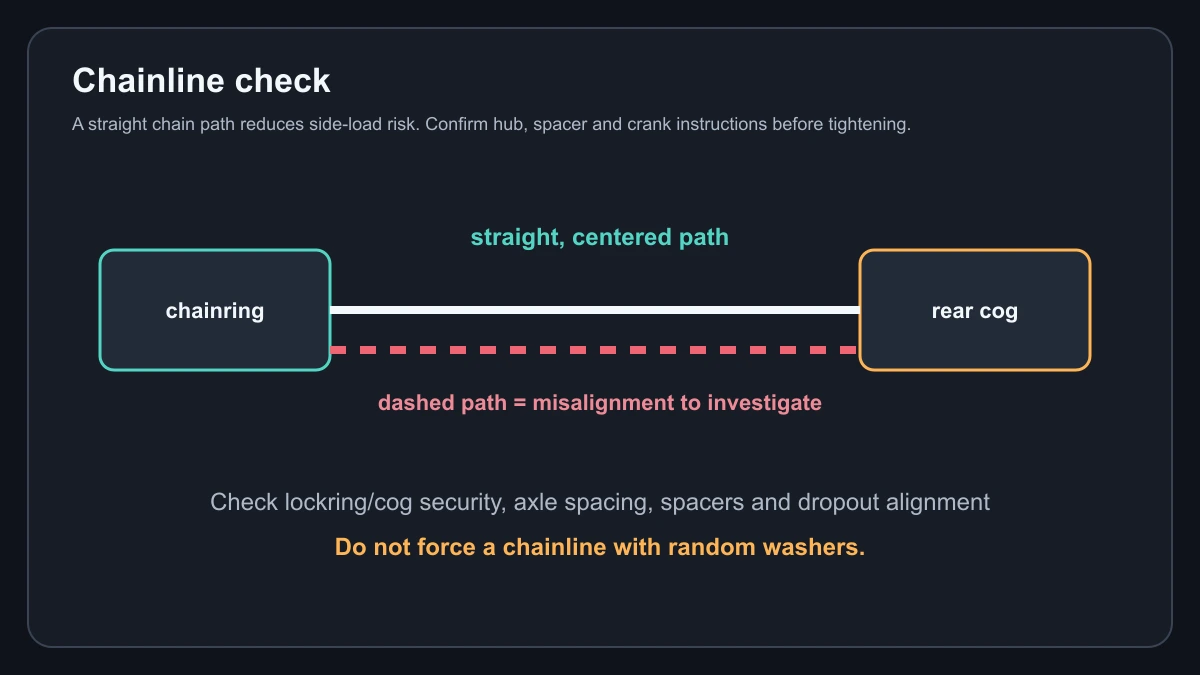
A tooth count must fit the hub and chain system. Confirm that the rear cog matches the fixed-gear hub’s mounting standard and lockring arrangement. Confirm chain pitch and width, chainring compatibility, axle spacing and chainline. A 15-tooth cog that physically threads on is not enough evidence if the chainline is wrong or the lockring does not match.
Chainline is the alignment from the front chainring to the rear cog. The chain should run straight when viewed from above. Use the crank, bottom-bracket spacer and rear-hub instructions to establish that line. Do not force alignment with random washers or leave a lockring loose. A noisy or wandering chain is a setup problem to investigate before riding.
Measure the wheel after the tire is installed and inflated to your normal pressure. Mark the floor and roll one complete wheel revolution, then measure the distance. For a more repeatable result, repeat it with your normal riding load. This is still an estimate because tires deform, but it is better than borrowing a generic circumference from a calculator.
Choosing between the two
Choose 48×15 if you deliberately want the taller option, your routes support it and you are comfortable with the starting and climbing demands. Choose 48×16 if you want a slightly lower gear for more frequent starts, hills or a higher preferred cadence. If you are unsure, compare the development numbers against your current setup rather than judging by tooth counts alone.
Changing only one tooth can be meaningful. Moving from 15 to 16 rear teeth lowers the ratio from 3.20 to 3.00 and changes development by 6.25% relative to 48×15. That is large enough to notice, but it is not a substitute for a bike fit or a safe test route. Keep the old cog, confirm the new chain length and recheck chain tension after installation.
Fixed-gear riding also requires appropriate control, brakes where legally required and a maintained drivetrain. This guide does not claim that one ratio prevents injury or makes a route safe. Test changes in a controlled area and stop if the chain skips, the wheel moves in the dropouts or the lockring shows any problem.
A quick cadence table
Using the 2.10 m circumference example, 48×15 produces 6.72 m per crank turn and 48×16 produces 6.30 m. At 60 rpm that is about 24.2 km/h versus 22.7 km/h. At 90 rpm it is about 36.3 km/h versus 34.0 km/h. At 110 rpm it is about 44.4 km/h versus 41.6 km/h. These are arithmetic examples, not recommended speeds. Wind, gradient, braking, traffic and your ability to control the bike set the safe limit.
If you are changing a current setup, calculate the percentage change from the old development rather than relying on the size of the tooth-count change. A move from 48×15 to 48×16 lowers development by 6.25%: (6.72 − 6.30) ÷ 6.72. That can be useful when deciding whether the new gear is a modest adjustment or a large enough change to require a different route or cadence habit. Keep a record of the old chain length and check tension at both dropout positions after installing the new cog.
A fixed gear also transfers drivetrain condition into rider control. Replace a damaged or stretched chain, confirm the rear wheel is secure in the dropouts and inspect the lockring before relying on the new ratio. If the chainline cannot be made straight with the documented spacers, solve the fitment issue before judging the gearing.
Sources and scope
The ratio and development terminology were checked against Sheldon Brown’s Gear Calculator and fixed-gear guidance. The numerical examples above are original calculations using the stated circumference and cadence assumptions. No product affiliation or brand recommendation is required for this comparison.